Wet room installation is something more and more Worcestershire homeowners are asking us about. Some are looking to modernise a tired bathroom. Others want easier access as they get older or have mobility concerns in the family. On paper it can look like a straightforward swap from a standard bathroom to a stylish, fully waterproof space. In reality, there is a bit more to it.
If you are weighing up a bathroom renovation and wondering how difficult installing a wet room actually is, this guide will walk you through what is involved, where the challenges sit and why experience makes all the difference.
What Is a Wet Room?
A wet room is a fully waterproofed bathroom where the shower area is open or level with the rest of the floor, rather than enclosed in a traditional tray and cubicle. The floor is gently sloped towards a drain so water runs away neatly.
Typical features of UK wet rooms include:
- A level access shower area
- A floor former or built-in gradient for drainage
- Waterproof bathroom flooring and tanked walls
- A central or linear drain
- Often minimal screens or no shower enclosure at all
The key difference compared with a standard bathroom is the level of preparation behind the scenes. With a normal shower, most of the water is contained within a tray and enclosure. In a wet room, the entire floor and often parts of the walls need to be sealed properly. That is what keeps water where it should be and protects the structure of your home.
How Easy Is It to Install a Wet Room?
The honest answer is that it depends on your property and your expectations.
Drainage and Floor Structure
Drainage is often the biggest technical factor. The floor must be able to accommodate a suitable gradient so water flows towards the waste. In newer homes with concrete floors, this can mean cutting into the screed. In older properties with timber joists, we may need to reinforce the floor before fitting the wet room former.
If the existing pipework is not in the right place, wet room plumbing alterations will be required. Moving soil pipes or increasing waste pipe diameter can add complexity.
Waterproofing
This is where a lot of DIY attempts fail. Proper tanking is essential. That means installing waterproof membranes on floors and lower wall sections, sealing joints and corners, and ensuring no weak spots around pipe entries.
It is not just about laying tiles. The waterproofing sits behind them and if it is done poorly you may not know until you see staining on the ceiling below.
Room Size and Layout
Some bathrooms are ideal for installing a wet room. A generous space with the right floor depth makes life easier. In smaller terraced homes around places like Pershore or Droitwich, clever wet room design becomes critical to stop the whole room feeling permanently damp.
Good design considers splash zones, ventilation and where to position the shower so the toilet and basin are not constantly soaked.
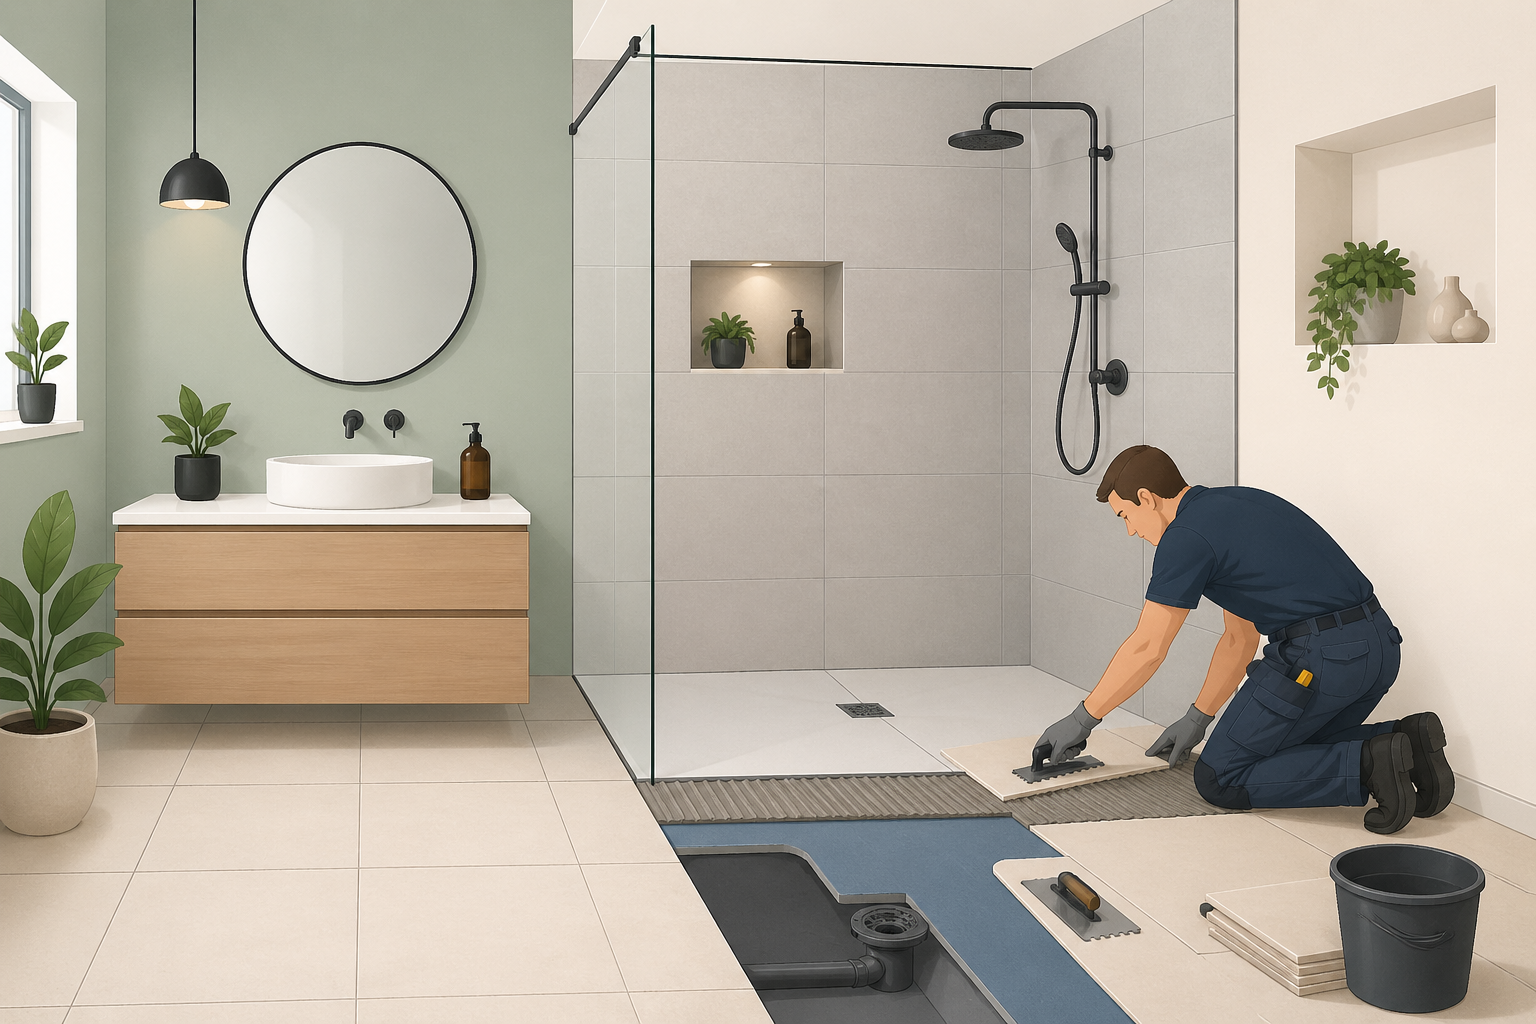
The Installation Process Explained
Homeowners often ask us what actually happens during a wet room installation. Here is a simplified step by step overview.
1. Initial Survey and Design
We assess the existing plumbing, floor structure and layout. This is where decisions about drainage position, screen options and waterproof bathroom flooring are made.
2. Strip Out
The old bathroom suite, tiles and floor coverings are removed. We take it right back to the subfloor and bare walls where necessary.
3. Structural Preparation
Floor joists may need reinforcing. A floor former or new screed with the correct gradient is installed. Drainage is adjusted as needed.
4. Tanking and Waterproofing
This is a critical stage. Waterproof membranes and sealing systems are applied carefully to floors and walls.
5. Tiling and Finishes
Tiles are laid with suitable adhesives and grout. Slip resistant floor tiles are common in UK wet rooms for safety.
6. Second Fix Plumbing and Fitting
Shower valves, screens, sanitaryware and accessories are fitted. Everything is tested thoroughly.
From start to finish, a straightforward project might take around one to two weeks depending on complexity.
Common Challenges and How Professionals Overcome Them
One issue we see occasionally in older Worcestershire properties is uneven floors. In Victorian terraces around Worcester or Malvern, floor levels can vary across the room. Creating the correct fall without raising the entire floor too high takes careful planning.
Ventilation is another common oversight. Wet rooms generate a lot of moisture. We often recommend upgrading extractor fans to prevent condensation build up and protect your new bathroom renovation for years to come.
Finally, drainage flow rates need checking. If the shower delivers more water than the waste can handle, you end up with pooling. Matching the shower system to the drainage capacity is part of experienced wet room plumbing design.
Costs and Timeframes
Wet room installation cost varies depending on size, specification and the extent of structural or plumbing work required. Converting an existing bathroom where pipework is already in sensible positions will generally cost less than starting from scratch.
Homeowners should budget realistically for:
- Preparation and structural adjustments
- Waterproofing systems
- Tiling and flooring
- Quality shower fixtures
- Professional labour
As part of a wider bathroom renovation, the wet room element may represent a larger share of the budget because of the specialist waterproofing and drainage work involved. That said, when done properly it adds real value and long term practicality to your home.
DIY vs Professional Wet Room Installation
It can be tempting to treat a wet room like a big tiling project. We sometimes get calls from homeowners who have laid the tiles themselves but are now worried about damp smells or minor leaks below.
The risks of DIY usually centre around:
- Incorrect floor gradients leading to standing water
- Poor waterproofing and hidden leaks
- Inadequate drainage capacity
- Voided product warranties
A professional installation means the structure, plumbing and waterproofing are handled correctly first time. It also means compliance with building regulations where applicable. In most cases, the cost of rectifying a failed DIY wet room far outweighs the initial saving.
Final Thoughts
So, how easy is it to install a wet room? Technically possible in many homes, yes. Simple and risk free without experience, not really. The success of any wet room design lies in what you do not see behind the tiles.
If you are based in Evesham, Droitwich, Pershore, Worcester or Malvern and considering a new wet room as part of your bathroom renovation, it is worth getting proper advice before picking tiles and fittings. A conversation with an experienced local team can save a lot of hassle later on. For tailored guidance and a clear understanding of your wet room installation cost, Contact Enviroplumb for expert wet room installation advice and a free quote.
Enviroplumb works across Worcestershire helping homeowners create practical, well built UK wet rooms that stand the test of time.